Green screen recording
|
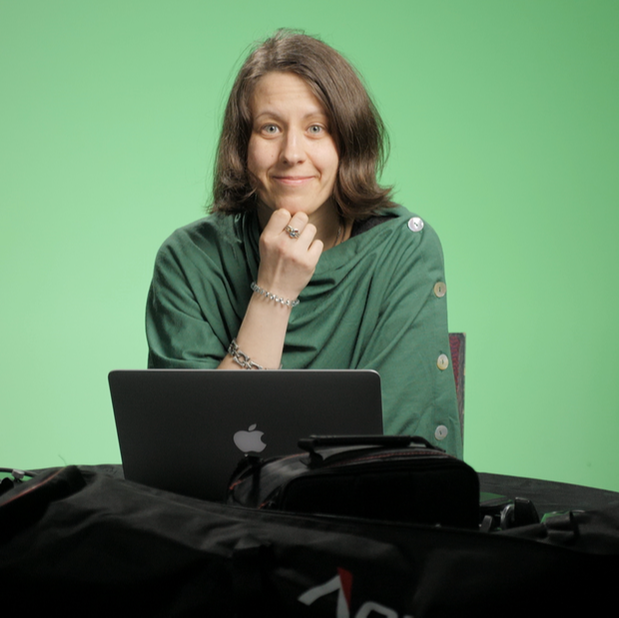
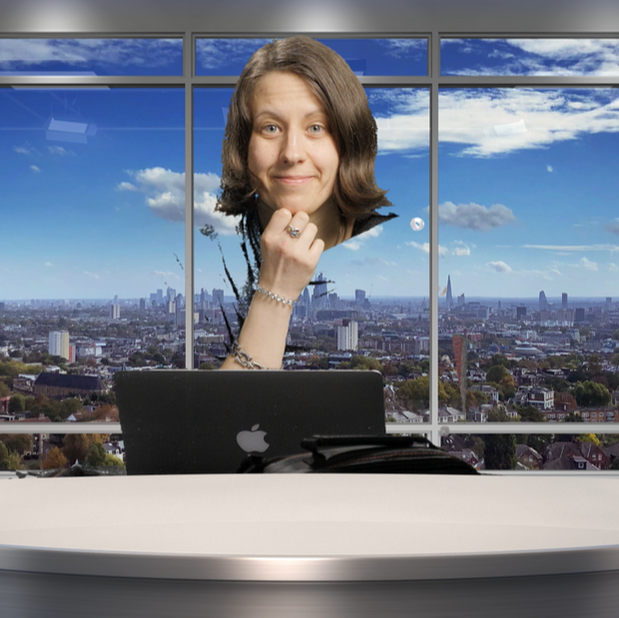
A video shot against a green background, which allows you to replace the background with another image, video footage, slides, or animation. Zoom's virtual background feature is based on this technique, although usually background replacing is done with during post production with special software, which leads to a more polished end result and has greater editing flexibility.
|
With a green screen videos you can position yourself in front of a virtual background and interact with it in a dynamic and immediate way in the same frame – think weather presenter or news room. This can be great, for example, if you want to transport yourself to location that is highly important, but it is not practical or possible to shoot there. Because everything happens in one frame, the students can focus on the content as well as on the instructor, which fosters a sense of connection.
However, a production-quality green screen recording needs to be justified, as both set-up in the studio and post production require time and effort. In many cases, a comparable result can be achieved by using Panopto, with the main difference being that the presenter image is recorded in a separate stream. You could also use Zoom to record yourself in front of a background image that is relevant in the context of the course.
Before using green screen, ask yourself: Does the virtual background add to the core content, have an educational purpose, and make the video genuinely more engaging? Or is it more of a gimmick or nice-to-have?
- One or more background image, video, slides, animations
- A green backdrop in a well-lit location (or alternatively access to Zoom)
- Someone to help with set-up, lighting and post-production
|
|
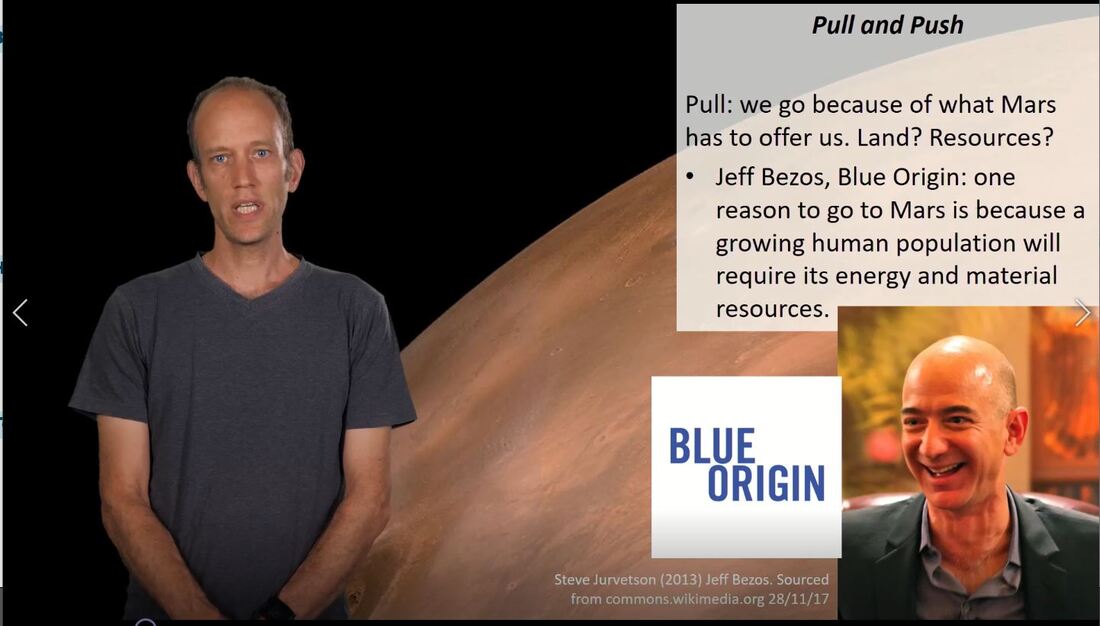
Green Screen - SCIS101 Mars Module - Tim Corbalis
|
|
Context of the video (content to come)
|
Lightboard
|
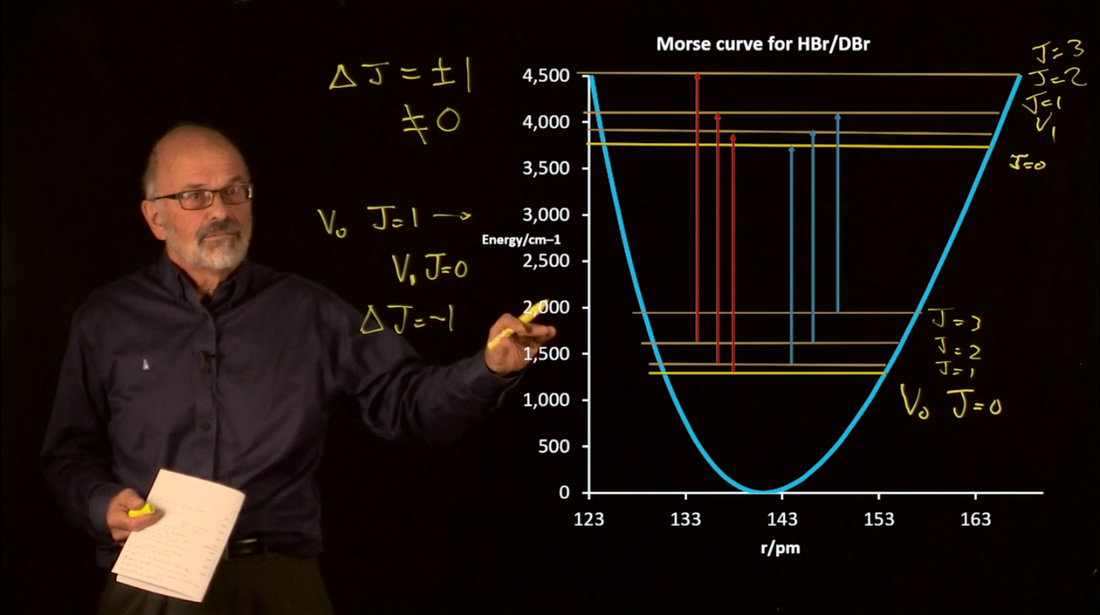
A lightboard is like a transparent whiteboard, on which an instructor can write and draw while facing the viewer directly. They appear to be behind the drawn or written content. The video camera flips the image so that the writing appears the right way around. It is also possible to add further content during post production.
|
The key feature of the lightboard is that it allows the instructor to interact more directly with the content than a screen cast does, and their personal presence creates a more immediate connection between them and the students. It allows the instructor to take brief pauses from writing and drawing, if necessary, and address the viewer directly during such moments, which helps make such a video more engaging.
Lightboard videos are great to demonstrate formulas, step-by-step processes and problem solving instructions or worked examples, for instance in Math and Statistics topics. A series of lightboard videos on topics that students in a particular course, especially in a large gateway course, often tend to struggle with would be a real asset as it allows the students to work along the examples at their own pace.
Lightboard videos are great to demonstrate formulas, step-by-step processes and problem solving instructions or worked examples, for instance in Math and Statistics topics. A series of lightboard videos on topics that students in a particular course, especially in a large gateway course, often tend to struggle with would be a real asset as it allows the students to work along the examples at their own pace.
- Clear handwriting
- A script or some bullet points for each video
- 15-20 minutes for each video, plus preparation time
- Time booked in the studio
- While a lightboard video does not take much time to record and process, it does take some time to set it up, so it's more efficient to record several videos during one session
- A script will help you stay on topic and be concise
- Think about what you are going to wear – avoid all black as it would make you disappear against the black background
- When you plan your content, take into account where you are going to stand and leave a portion of the screen empty. Content that is directly in front of you might be hard to decipher
- Use block rather than cursive writing, especially if your cursive writing is not very neat and clear. If you know that your handwriting can be hard to decipher, the lightboard might not be right type of video for you.
|
|
Context of the Video (content to come)
|
Field trip videos and location shoots
|
A video (or a series of videos) is a tour of one or more locations that are relevant in the course context. The focus of a field trip video could be on techniques and instructions, or on the location itself, or a combination of both. Field trip videos could also be components of a more comprehensive virtual field trip experience that incorporates audiovisual material alongside other types of content (readings, maps, images, interactive hotspots, interviews) and learning activities.
While we consider field trips and location recordings as advanced because they usually require planning, travel, equipment (and knowing how to use it), and some degree of editing, from a technical point of view there are different ways of creating field trip videos, and some are easier to achieve than others. For example:
|
Field trip videos are great for locations that are inaccessible or impractical to visit with an entire class. Like a mini-documentary, they allow you to take students on a tour that is personalised and focuses on features that are relevant in the context of the course, and that students might encounter themselves if they were in the field.
While field trip videos don't replace the experience of actually visiting a particular location, they enable students to revisit it at their own pace, take part virtually if circumstances prevent them from attending the field trip itself. They're also an invaluable asset if a planned field trip has to be cancelled, or a location suddenly becomes inaccessible or destroyed. So when planning a video field trip, ask yourself: which locations would be a valuable and reusable resource, or are so crucial from a resilience point of view that it would be hard to impossible to teach the course without some visual reference to it?
A field demonstration of more general techniques or instructions (e.g. what to look out for, how to assess certain features of any location) could also be a great reusable resource, and it might not even need to be filmed in an external location: you could improvise in your backyard, or somewhere on campus.
- Location permit (this can be an email confirmation)
- Lapel microphone or directinal microphone
- A camera. Could be a good quality mobile phone or tablet.
- A tripod. Don't use selfie-sticks or handheld camera
- Luck with the weather (for outdoor locations) and some flexibility
- Headphones to check sound playback
- If you film during a physical field trip with a group of students and they are in the footage, make sure that they're ok with the content being reused and get a sign-off in writing. Give students who are uncomfortable with being on camera a chance to not be in the picture.
- Don't film everything because you think might want to use it – it can be very time consuming to look through footage. Think about what you need in advance and create a shot list or storyboard.
- Keep your videos short (up to 10 minutes) and break up the trip into several shorter videos if necessary.
- Get training and someone to help with the filming if possible. This doesn’t have to be a video specialist, but someone who can monitor sound and image while you present would really help.
- Talk more generally about the method for assessing a location, as well as about the specific features, in as much detail as necessary. Don't say, "as you can see in the background" - say: "as you can see on the façade of this 3 storey-tall apartment building / 400-year old Rimu tree".
- External locations, and especially outdoor locations, mean you have less control over things like weather (rain, sun glare), wind (bad for sound), disruptive sounds (sirens, waiting buses, reversing rubbish trucks, lawnmowers,….), and other potential disruptions. Be flexible. To mitigate sound issues, do a test recording and play it back with headphones, and change the location if necessary.
- It's best to check in advance if you need a consent to film in a specific location, and get a confirmation in writing (this can be an informal email). Even public buildings like the National library or nature spaces like a DOC reserve usually require an official permission.
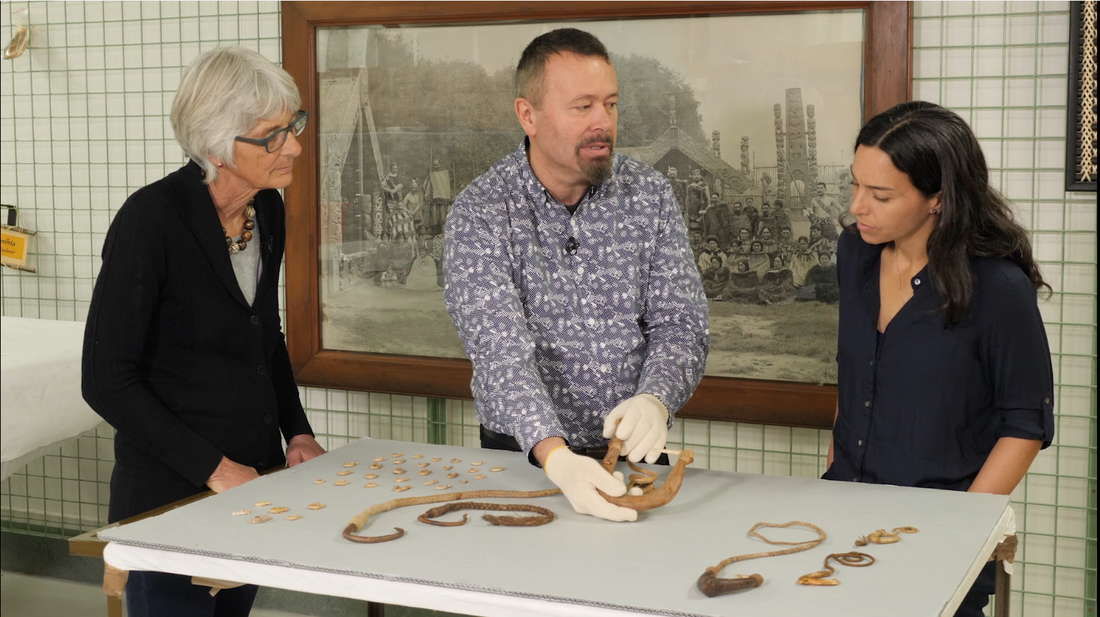
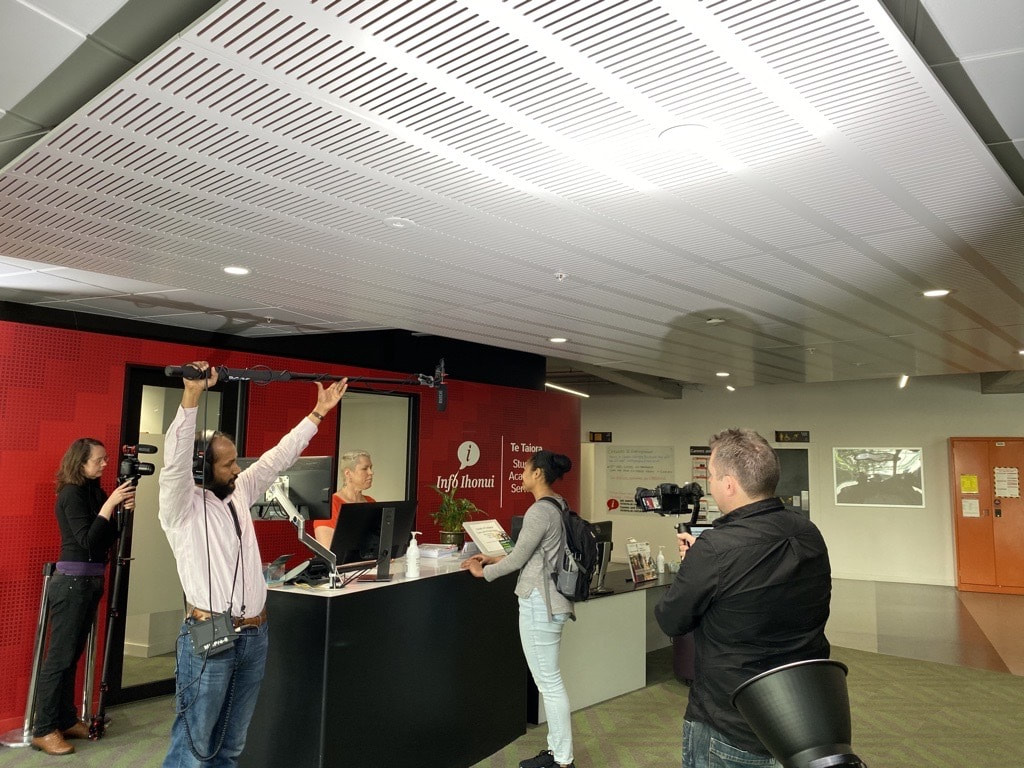
Location Visit at Te Papa - NZ101X (Mooc on Edx)
|
|
Context of the video (content to come
|
Scenario or simulation
|
A short scripted scene with actors. Scenarios or simulations can be based on actual cases or completely fictitious. They don't have to be long and complex: Even a 30 second mini-scenario can be a great discussion starter or activity prompt. On the more advanced end, several short scenarios could become parts of a more complex case study that uses branching, where the students receive feedback in the form of outcomes and consequences.
|
Scenario videos are great to promote active learning of skills / techniques development, decision making, or problem solving in a situational context. They can enable students to get a better understanding of and prepare for what expect in a real world setting, and get feedback on outcomes or consequences. They can be used to model certain techniques, and they also make great prompts for discussion starters, self-paced reflection activities, groupwork, or assignments, for example:
- What would you have done?
- How could a different (potentially better) outcome have been achieved?
- At which points in a scenario did something go wrong?
- Time to plan, script, coordinate the shoot, edit or review the edits. Start planning and connecting with relevant support staff / stakeholders as early as possible, and at least 6-8 weeks before the videos are needed.
- A script or a shot list
- A run sheet for the day, especially if shooting more than one video
- Actors or people from the field or profession with some acting skills
- A location (which might have to be set up)
- Identify what support you need with regards to coordinating, filming and editing
- Adequate equipment: use more than one camera, or else you are severely restricted when it comes to editing, and the video might look like it's filmed on a theatre stage.
- With anything that involves other people, planning and preparing are essential. Short improvised scenarios, filmed on the fly with a phone, may be doable if you don't require special equipment or a specific location. But they won't look as professional as a properly planned video. If you work with actors and a small film crew, you need to have a script or at least a shot list that includes key terms to say, and key things to show.
- Production quality matters, as things like awkward acting, poor sound, poor lighting all draw attention to themselves and detract from the main objective of the video
- Decide in advance if you need dialogue and action, or internal voice-over and action (to reflect thought or decision making process)