Basic educational videos
|
The videos in this section all require only basic equipment, minimal preparation, and not much time (approx. 15-30 minutes). Nonetheless, they are well worth the effort and can make a big difference in how students experience a course, especially a course that is delivered in a blended or online format.
Explore them all, or jump directly to one of the following: |
|
Lecture capture
|
|
Lecture capture is the recording of a live (face to face or virtual lecture). At VUW, the Panopto (VStream) default set up for lecture capture recordings of face to face lectures is to record the slides and the audio, so neither you nor the students are visible on the recording.
|
Lecture capture videos allow students who have attended the lecture to review material they find difficult to understand, and assist them in their note taking. They also enable students unable to attend a lecture to catch up on material they have missed.
- They are not a replacement for lectures and lecture attendance. Rather, they are supplementary material.
- Lecture capture videos are tied to a specific instance of a course and cannot be reused in subsequent trimesters – especially not if students' questions or discussions contributions are on the recording.
- Read more on the pedagogical benefits of lecture capture here, including practical recommendations for staff and students.
- Basic training in how to use Vstream / Panopto.
- A microphone (usually these are in the lecture theatres).
- Time and effort required:
Allow for 10 minutes to schedule your recordings. Allow for extra time if you tend to edit and trim top and tail of your recordings, if you embed videos in the module or weekly folders, or if you only videos available on request.
- Always make sure that you are using a microphone and that the microphone is turned on. It is not possible to retrieve any audio that wasn't recorded in the first place.
- If you use a whiteboard during your lectures, consider using a document camera instead. Not only will this make it possible to capture the content on the recording. It will also allow you to interact more directly with the students in the room (because you don't have to turn your back to them) and make it easier for everyone to read, especially in a large lecture theatre.
- Watch this webinar on Zoom for mixed mode teaching for tips on what to consider when running and recording a mixed mode session.
- With VStream (Panopto), you can schedule recordings of lectures in most lecture theatres in advance. You can either set up the schedule yourself (see Quickstart) or request the set up through the Staff Service Center. When you schedule recordings, make sure you manually remove recordings that would take place during breaks and public holidays, or create different sets of schedules around breaks.
- Don't worry too much about editing your lecture capture videos. However, if you accidentally record a private conversation (e.g. a student approaches you shortly before or after a lecture with a personal matter), make sure you edit it out.
- Lecture capture videos recorded with Panopto will automatically appear in the Vstream course folder. It's up to the course coordinator to decide whether or not to make them available by default or on request (but it’s less time consuming to make them available by default).
- You can embed the lecture capture videos in the relevant module or weekly folder on Blackboard. This enables students to easily find the videos they are looking for.
If you get an error notification and can't view the video examples, you might have to log into VStream first.
|
|
QUAN203 - John RandalThis is a brief excerpt from a lecture recording of QUAN203. It demonstrates the use of a document camera during a live lecture.
View the video in the fullscreen Panopto version to see how John recorded different camera streams, which allows students to view multiple resources while reviewing the material after the lecture. |
Welcome or kickstarter video

|
Welcome or Kickstarter videos are short videos that give a brief introduction to the course and the course coordinator / lecturer. Think of them as a course trailer. They are typically short (1-5 minutes) and personal, and don't need any slides.
They can also contain information about specific expectations you have from students, what they need to do if they want to do well in the course, and if there is anything they should do before the first week of the trimester. |
- Welcome or kickstarter videos are great way to share your enthusiasm for the subject you're teaching, get students excited about a course, and meet you as a person before teaching starts.
- Embed them on Blackboard on the Welcome / Start Here / About the course page and make this section of the course available prior to the trimester start, ideally 1-2 weeks beforehand.
- Webcam
- Microphone
- Quiet location
- 15 – 30 minutes to plan and record
- keep it short (1-5 minutes)
- Prepare a few bullet point notes
- Don't worry about being the perfect presenter – be human and don't be afraid to let your personality shine through
- If you want to get creative, you could show a special prop that relates to the course, to your passion for the subject, or simply you a as person
- Make sure you look directly into the camera – and don't forget to smile!
- If your course teaching team consist of more than one person, you could also record one video as a team
Examples yet to come!
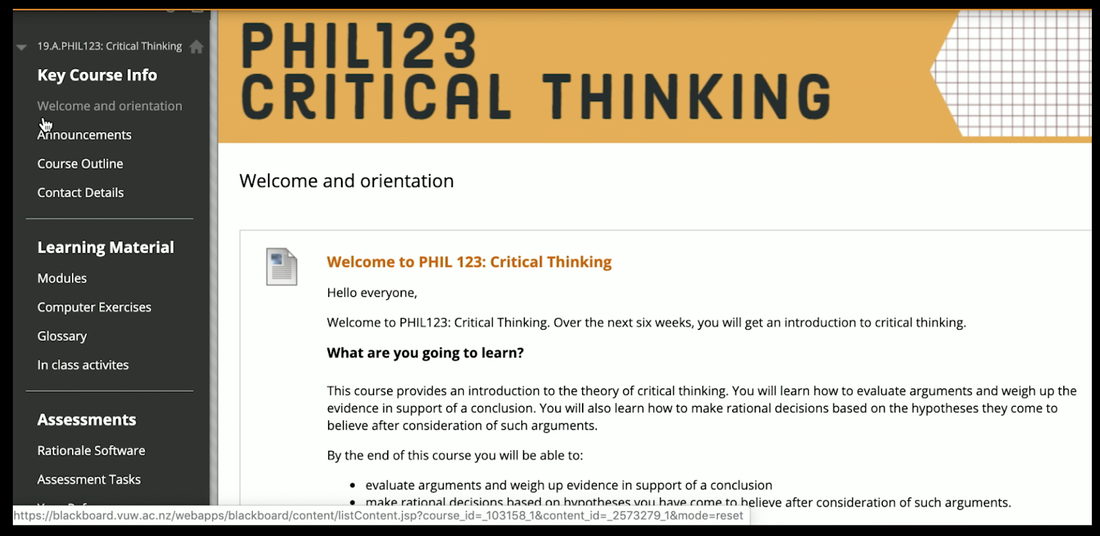
Course tour
|
A course tour video is a short (up to 5 minutes) screencast giving a brief overview of the main parts of the blackboard page of the course. Think of yourself as a tour guide showing the students around their digital classroom and pointing them to the most important areas, such as:
|
- Course Tour videos help students to orientate themselves in your particular course, especially if they are first year students who haven't used Blackboard before.
- Embed your Course Tour video Blackboard on the Welcome / Start Here / About the course page and make this section of the course available prior to the trimester start, ideally 1-2 weeks beforehand.
- Your Blackboard course site mostly built
- Microphone
- Quiet location
- 15 – 30 minutes to plan and record. Allow for a little bit of extra time if you want to edit the video, and for uploading and embedding it on Blackboard.
- keep it short (1-5 minutes)
- It's best to record a course tour once you've built the main parts of the course, and when you know they're not going to be any significant changes.
- At a minimum, have your welcome page, fist module page, assessment area, and any specific sections that you're expecting your students to use. If you're still building some parts of the course that's fine – just let them that there will be content later on so they know what to expect.
- Make sure you use Student Preview mode when you film your Course Tour video!
(If you get an error notification and can't view the video examples, you might have to log into VStream first).
Module overview or summary

|
A short (1-2 minutes) introduction or summary of a learning module or weekly topic. For an introduction, give students a brief overview of the module or weekly topic, what they should think about, what's expected from them this week, and remind them of any important deadlines.
Or summarise important points to remember at the end – this can be especially useful if the course involves discussions (online or face-to-face) and you want to highlight some key points from these for the students. |
Short introductions or summaries can add a personal touch, especially for an online course, or for a block course with a lot of self-paced material to go through between synchronous sessions.
- Microphone
- Webcam
- Quiet location
- 10 – 20 minutes to plan and record. Allow for a little bit of extra time if you want to edit the video, and for uploading and embedding it on Blackboard.
- keep it short (1-2 minutes)
- You don't really need any slides or additional resources for module introductions or summaries. A short note with 2-3 bullet points should be sufficient.
- Introductions can be recorded in advance and reused in subsequent trimesters if the course doesn't change much. Summaries might be better recorded on a weekly / end of module basis, so you can respond to and comment on issues that were raised.
- Whatever you do, make sure you use it consistently throughout the course and consider scheduling a weekly recording slot in your diary as a reminder.
Examples yet to come!